-->
≡
Home
Woman
Sport
Business
Health
Privacy Policy
Contact Us
Contact Us
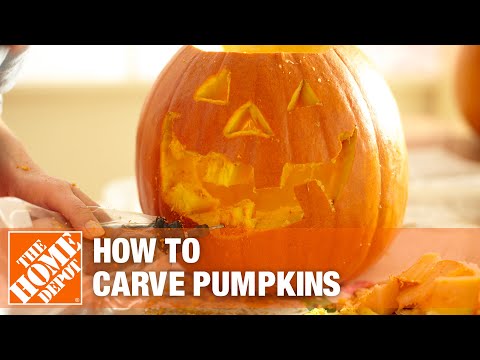
How to Carve a Pumpkin: Jack-o'-Lantern Ideas
:
:
2017-10-10T15:08:28Z
Tuesday, 10 Oct 2017 - 03:08 PM
Looking to excite your neighbors and trick-or-treaters this Halloween?
The Home Depot's got simple spectacular Jack-o'-lantern ideas that you can
create using a pumpkin carving kit and other tools and materials that will be
covered later. This project can be completed within a few hours depending
on the size and number of pumpkins you're designing. Pumpkins are ready to
harvest once the skin turns orange and the rind hardens. Some people pick them
in mid-October to ensure they'll last for Halloween. They're likely to decay
within a couple weeks. Be sure to pick the right size. Round, medium sized
pumpkins are standard for most jobs, but large or irregularly shaped ones can be
used for more elaborate designs. Your pumpkin should be free of nicks and
bruises, containing a sturdy stem, consistent color and a flat base for
easy display. To get started, place a drop cloth or newspaper over a flat surface
of a spacious area, like the deck, yard, kitchen or garage. This will help protect
the surface and minimize cleanup. Always remember safety first. Follow all safety
precautions when utilizing tools and products for this job. Also, keep knives
away from young kids and monitor older kids designing their own pumpkins. Cut a
lid for your pumpkin about two inches from the stem or blossom end, or simply
near the top edge. Use a straightedge blade or a serrated knife if it's not
already included in your kit. The lid can be in the shape of a circle, square or
any other shape that's suitable for your design. You'll also need to remove the
filling containing strands and seeds, even along the walls. To do this, use a
large spoon, ice-cream scoop or your hands. Scrape up as much as you can to
ensure illuminated candles or artificial lights that you place inside will be
noticeable. Do not leave your candles unsupervised or lit overnight. Artificial
lights like LED lights require minimum supervision and can be burned throughout
the night. Also, use a stencil and a dry erase marker to trace a design onto the
pumpkin before you begin carving. You can find stencils online or inside your
carving kit. Make sure you collect all the decorations to complete the design.
Since pumpkins have a short life span, you can apply petroleum jelly to carved
areas and the interior to help preserve them a little longer. You can play your
design safe with the classic Jack, also known as the smiley Jack: a traditional
style that never grows old. Simply cut out a gap-toothed smile where the
triangular nose and eyes are to perfect the look. Or, go for the scary Jack if your
Halloween decor is super eerie. With this design, you have free rein to creep or
keep everyone out. If that doesn't do the trick, simply say it with words. A rotary
carving kit like the one shown in this video is useful for engraving letters
and sketches. Or power up your drill to create an assortment of holes with
different drill bit sizes so light can shine through in a swanky way. Other ways
to brighten up Jack's day? Add color and more.
Whether you create a big or small Jack-o'-lantern this Halloween, the
possibilities are endless with The Home Depot. Here's a list of tools and
materials you may need to complete the project. For more detailed information
about this and many other projects, check out the DIY projects and ideas section
of homedepot.com or talk to one of our store associates.
Good luck and thanks for shopping at The Home Depot.
Halloween Pumpkin Carving Idea with Brain and Slime! TOP 10 DIY HALLOWEEN PUMPKINS | PUMPKIN CARVING IDEAS VIDEO Creative Pumpkin Carving Crazy Ideas - Halloween Carving a Pumpkin in Under 30 Seconds With A Waterjet - Pumpkin Carving Machine - Jack O Lantern How to Carve Halloween Pumpkins Creative Pumpkin Carving Best Ideas - Funny Halloween Decorations 50+ Creative Pumpkin Carving Ideas - DIY Halloween Decor 2017 How to Build a Ground-Level Deck Best Halloween Pumpkin Carving Ideas PAW PATROL PUMPKIN CARVING MARSHALL Pumpkin Carving Ideas For Halloween! DIY Halloween Pumpkin
Facebook
Twitter
Google Plus
The Home Depot
Latest Posts